Showing posts with label recipe. Show all posts

Wednesday, November 6, 2013

7 Reasons Why My Family Doesn't Drink Soda

7 Reasons Why My Kids Don't Drink Soda

If this chart listing the seven side effects of soda isn't alarming enough, there is a lot of well-researched information about how diet soda actually makes people fat.

Watch this informative 2 1/2 minute video here: Is soda really bad for you?

Think this is an easy decision? NO! My kids fight me on this all the time—every time we step into a restaurant and are bombarded by the vast selection of soft drinks.

Is it worth it?  In the long term—YES! Absolutely.  I tell my kids that if all the parents knew what I know about sodas, they would NEVER give it to their kids either.  Why would a parent consciously poison their children?

Want a neat soda replacement that's yummy too?
This is a cranberry mojito. Recipe here. (Courtesy of We are not Martha)
This is a healthy homemade cranberry mojito (personally I'd leave out the rum). Recipe here. (Courtesy of We Are Not Martha)

Andrea Beaman, who healed herself from a debilitating illness through dietary changes, taped this awesome video with her nephew. I showed it to my kids and then we had a blast mixing and tasting.
Here's the video: THE SODA POP KID

Simple recipe
  • 1 8 oz. glass carbonated water
  • 1 Tbsp. fruit juice concentrate or elderberry syrup (great for immunity) from health food store
  • Add sweetener to taste (raw organic maple syrup or raw organic honey work great)
  • Mix and add ice, if needed
OR
  • Mix seltzer with any unsweetened fruit juice for a refreshing spritzer.
  • Add a slice of fruit if you're extra fancy and fabulous.
YUM, YUM!
(In the video, there's a recipe for natural ginger ale with the healing benefits of real ginger which is great for the digestion.)
Was this article helpful to you? What do you do to replace soda in your household?

Monday, October 28, 2013

The One Food That Settles Upset Tummies

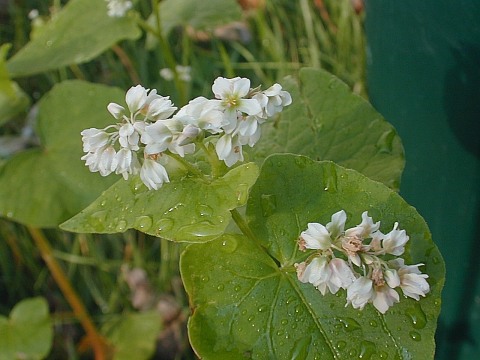
Fagopyrum esculentum (Courtesy of illinoiswildflowers.info)

When my sisters and I were growing up, there was only one food that cured nausea and throwing up.
You’ll laugh when I tell you—that miraculous comfort food is kasha.
That’s right—plain buckwheat stops nausea right in its tracks.

Buckwheat (Courtesy of rollingout.com)

NO! Not Buckwheat from “The Little Rascals,” though I love him too!
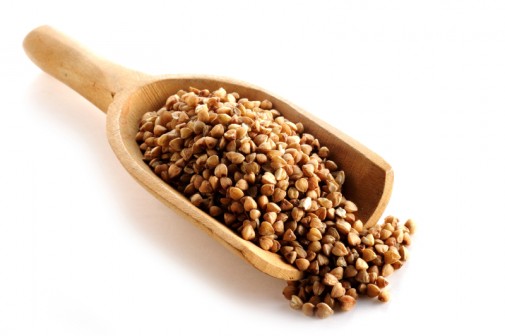
THIS kind of buckwheat:
Buckwheat (Courtesy of dailyperricone.com)

I’m not saying all throwing up is bad.  In fact, vomiting eliminates toxins from the body. Sometimes that’s encouraged.
However, at some point, when a child or adult starts to feel hungry or shaky after a bout of elimination and they can’t seem to hold down anything elsegrab a box of buckwheat groats and work some magic!

How does it work?  I’m not really sure!  But it DOES work.

It turns out that buckwheat is a gluten-free super seed, not a grain, with amazing properties.  There is mounting evidence proving that it stabilizes blood sugar levels, helps lower cholesterol, and can regulate diabetes.

Buckwheat contains the eight essential amino acids, including lysine, as well as high amounts of manganese, magnesium, and fiber according to an article in Natural News found below (Three Reasons to Eat Buckwheat).

It also contains two flavanoids: quercitin and rutin.
Quercitin has been shown to support healing in the body.  Rutin is an antioxidant shown to potentially inhibit cancer. Rutin also strengthens the capillaries and circulation, and may reduce painful varicose veins.
When suffering through a stomach ailment where vomiting presents, blood sugar levels usually drop. The stabilizing effect of the kasha brings the sugar levels back into equilibrium.

Don’t you just LOVE how simple natural solutions can be?
I know I do!

Recipe
Here’s the easy recipe on Wolff’s Kasha box that I make for my kids, when needed:
  • 2 Cups broth or water (I use Imagine No Chicken Broth)
  • 2 Tbs. butter or margarine (Earth Balance margarine is non-hydrogenated.)
  • 1/4 to 1/2 tsp salt or to taste
  • 1/8 tsp pepper (I leave this out when treating stomach upset, as it might be harsh on irritation.)
In separate bowl (egg is optional for vegans, so leave this coating part out):
  • 1 Cup kasha
  • 1 egg or egg white
  1. Lightly beat egg in bowl with fork. Add kasha, stir to coat kernels.
  2. Heat liquid, butter, and seasoning to a boil.
  3. In a separate medium-size skillet, add egg-coated kasha. Cook over high heat 2 to 3 min, stirring constantly until egg has dried on kasha and kernels are separate. Reduce heat to low.
  4. Quickly stir in boiling liquid. Cover tightly; simmer 8 to 11 min. until kasha kernels are tender and liquid is absorbed. Makes about 4 cups
For more advice on cooking kasha, check out this helpful link: Cooking Buckwheat.

Related Articles and References:
English: Cooked kasha. Polski: Ugotowana kasza...
Cooked kasha. (Wikipedia)


Photo credits: Buckwheat plant (illinoiswildflowers.info), Buckwheat the character (Courtesy of rollingout.com), Buckwheat (Courtesy of dailyperricone.com),

Thursday, October 24, 2013

3 Powerhouse Skin Tonics to Get Your Glow On

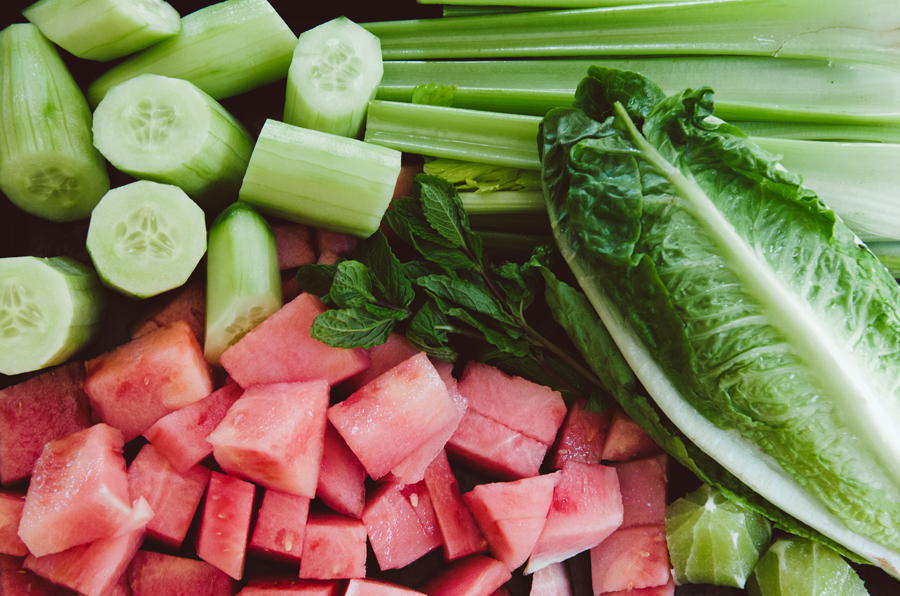
(Courtesy of So...Let's Hang Out Blog)

Green drinks are the latest and greatest nutritional powerhouses to hit the juice bars.  And who better to share them than the following health and beauty mavens.
Julie Lindh is the ultimate holistic skin care guru with a sublime spiritual twist.  I posted about her here.  I'm sure you will enjoy her easy-to-prepare recipe for glowing skin that she shared in a newsletter.  Julie offers advice and products here and her signature Skin Fitness program here.  (Don’t you love the sound of a fitness program for skin?  Your skin receives quite the workout with her special treatment!)
So…without further ado, let’s get to the delicious and nutritious green drink menu.
Glowing Skin Juice Shot
  • 1 T Spirulina powder (I like this green powder from The Synergy Company or Clean Chlorella Powder from Natural News)
  • 4 2-inch cubes of watermelon
  • 1 stalk of celery
  • 1 stalk of kale
  • 1 cup of cold water
Blend all ingredients together in a mixer until liquified. Drink all in one serving, or split into 3 shots and drink one before breakfast, lunch and dinner. Delicious and nutritious!
[Reprinted from Julie Lindh's July 2013 newsletter.]
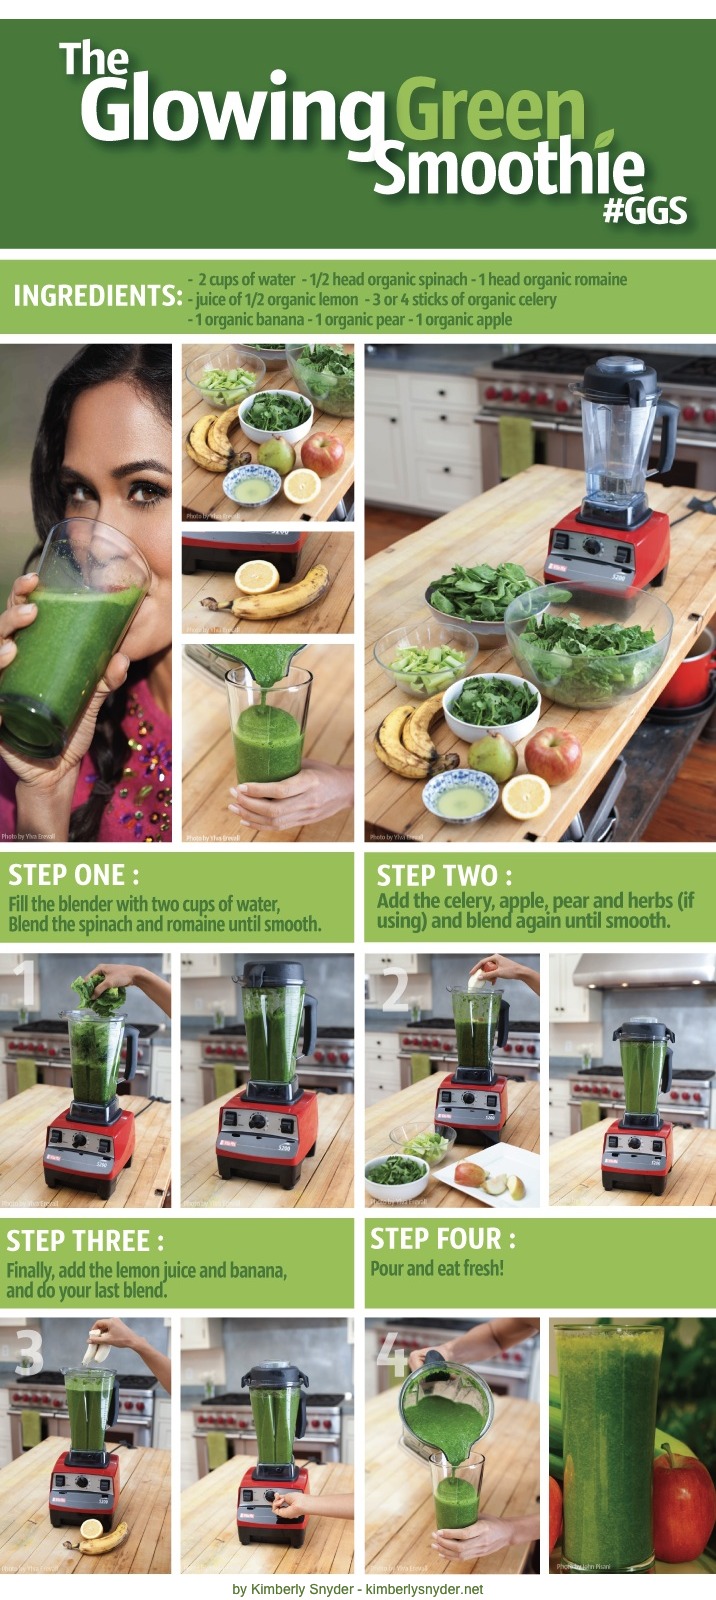
(Courtesy of Kimberly Snyder)

Kimberly Snyder shared this Glowing Green Smoothie recipe in her first book, “The Beauty Detox.”  It is her cornerstone drink for the beauty detox diet that has created quite the stir among A-list celebrities and people like you and me—assuming you’re not a celeb (though if you’re reading this post, you’re definitely on MY A-LIST).

So here’s how to transform into a glowing green Goddess without actually turning green.
  • 2 cups of water
  • 1/2 head organic spinach
  • 1 head organic romaine lettuce
  • Juice of 1/2 organic lemon
  • 2-3 sticks of organic celery
  • 1 organic banana
  • 1 organic pear
  • 1 organic apple
Follow the directions above or here. The GSS lasts for two days in the fridge when covered.
What makes blending greens so great?
Here’s what Kimberly Snyder has to say about that:
Greens have more valuable nutrients than any other food group on the planet. You might be surprised to learn that greens even have high-quality, easily-assimilated amino acids – enough to build the protein that supports the muscle mass of the mighty, greens-eating gorilla, which pound-for-pound is the strongest animal on earth!
Blending makes the nutrients in greens more bio-available to the body.  The creamy consistency allows for maximum absorption.
Refreshing mint mojito smoothie revs your mojo. (Image courtesy of Well+Good NYC)


Want to add a little kick to your day?  Sip a virgin Mint Mojito Smoothie conjured up by Well+Good NYC resident mixologist, Jennifer Kass.
  • 1/2 lime, including the rind
  • 10 mint leaves
  • 1 c coconut water
  • 1/2 cucumber
  • 1/4 avocado
  • 1 tsp coconut sugar
  • Optional: Protein powder
Here are some of the benefits Well+Good shares on the website:
Fresh mint stimulates digestion and is said to help dissolve fats, and the water content in cucumbers helps flush out anything that makes us sluggish. Lime adds antioxidant vitamin C and boost alkalinity, and the rind also contains a medicinal oil used for digestive issues.
What’s in your juicer lately?  Do you have a favorite combination?  Personally, I grab whatever I’ve got—like frozen organic berries, açai, chia seeds, flaxseeds, bananas, spinach, kale—and throw them into a base of freshly juiced organic apples, carrots, beets, cucumber, celery, and sometimes ginger, then blend. The beets lend a robust red juicy color that I find very appealing.
Photo Credits
  1. (Courtesy of So…Let’s Hang Out Blog—great recipes too)
  2. Kim's Beauty Detox
  3. Well+Good NYC
Green drinks deliver vitality and vigor to your life. (Image courtesy of Kimberly Snyder/Shutterstock)

My Crazy Good Recipe-free Smoothie

20130716-103259.jpg
Find foods to nourish the spirit and feed the soul. If you can’t eat them, blend them!
My smoothies are usually so random.  Absolutely no measurements are required to make a delicious health-enhancing cocktail!

For the Base Liquid
Often—if I feel like cleaning the juicer AND the Vitamix afterwards—I’ll juice my own base liquid of organic carrots, celery, maybe ginger and beets, and heavy on the apples.

For the Body
Then into the Vitamix, I’ll throw in the pre-juiced liquid, plus any veggies and berries on hand: kale, spinach, parsley, avocado, frozen or fresh blueberries, raspberries, strawberries, a fresh—usually sadly overripe—banana, and sometimes even pineapple.

The Add-ons
Then if I’m really adventurous, in go some chia seeds, hemp seeds, aloe vera juice, or Udo’s 3-6-9 Oil Blend (or any nutritious oil high in omegas like hemp seed oil or raw coconut oil).

The Scary Part
There’s a lot of mixing at that point, and people run and hide. (Vitamix can get noisy.)
Usually this looks so delicious that I think I’m salivating now just thinking about it!
Actually, it really doesn’t look that good every time. It’s kind of a
crapshootmystery that way. It depends on how heavy on the fruit and beets I’ve gotten. (Sorry! Is crapshoot a bad word? Where are my manners today?!)

So there you have it–my recipe-less smoothie that tastes really, really good. Just ask my finicky husband who used to never eat veggies (no joke).

He’s like Mikey in the classic Life cereal commercial: “Hey, Mikey! He likes it!” And then the kids proceed to guzzle down the formerly repugnant “healthy-looking” cereal.

My husband drinks this and doesn’t have to be forced…most of the time (*sheepish grin*).
Thus far no luck with the kids though. So I’m still feverishly devising the perfect formula.

Wednesday, October 23, 2013

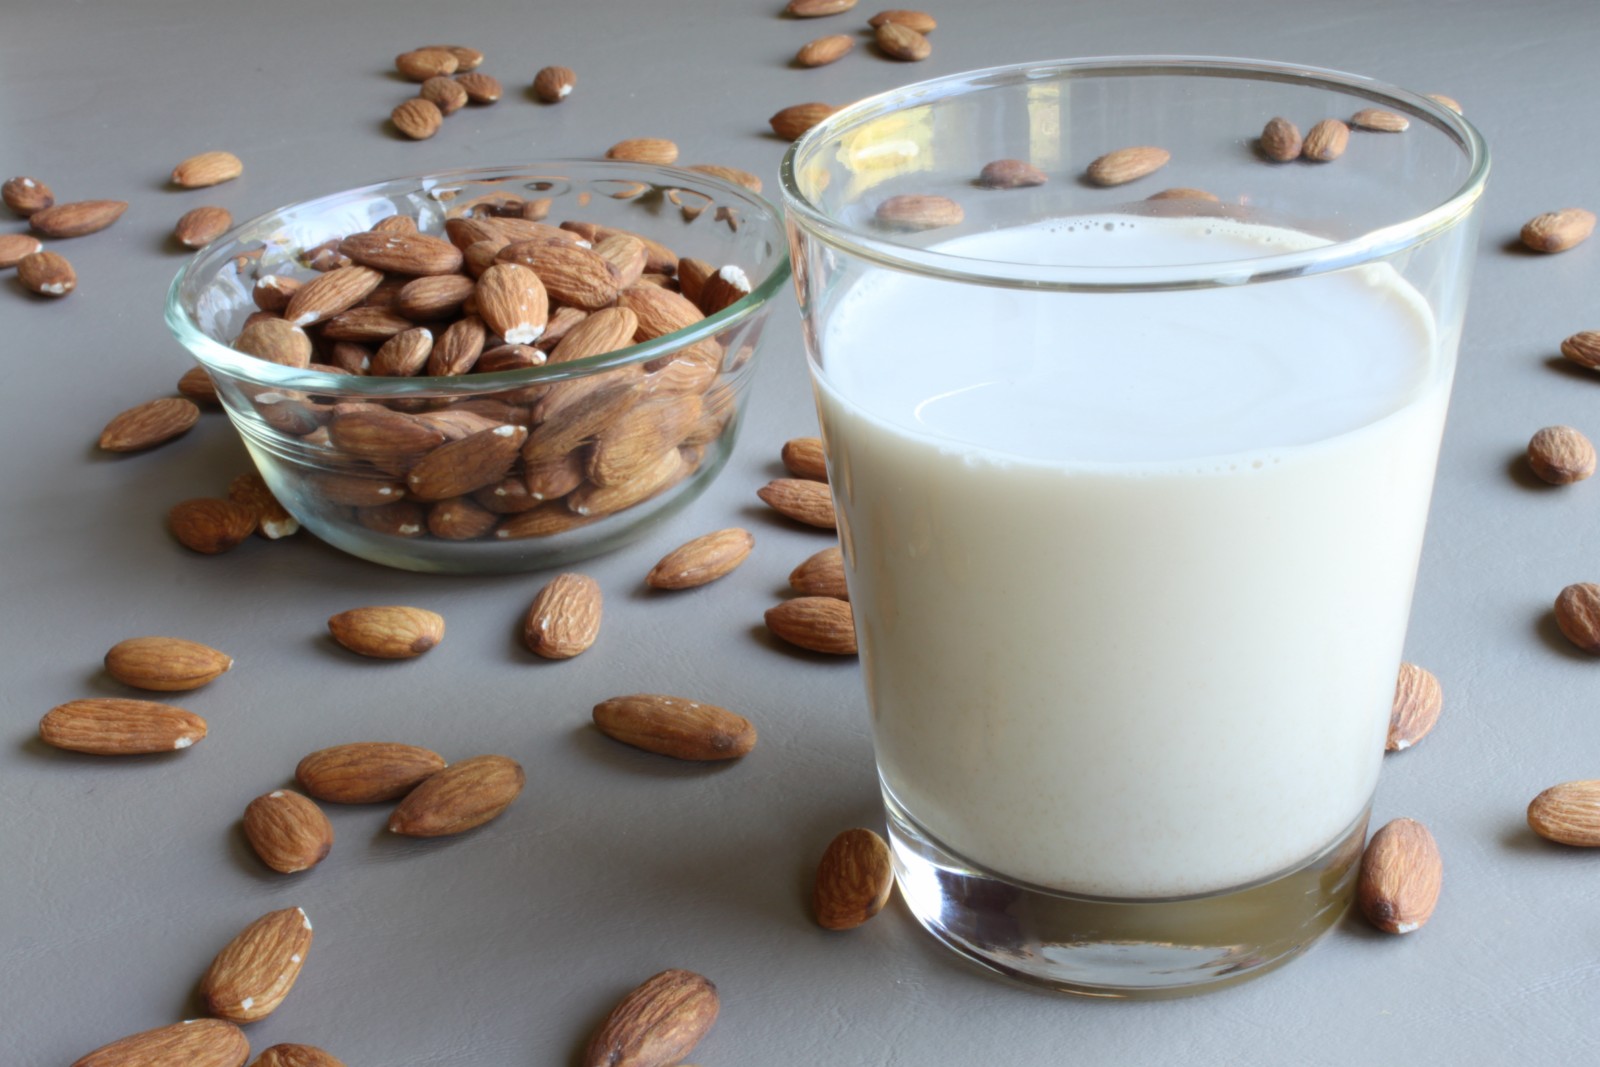
Why Homemade Almond Milk Is Better For Your Health


Homemade-Almond-Milk-tan-8-1600x1200

There is something so totally healthy about making your own nut milks.  Think: fresh, non-denatured, and enzyme-rich when foods are not packaged and processed.  Plus I’ve been reading a lot about avoiding carrageenan, a seaweed that’s a commonly listed ingredient in boxed nut milks. (Dr. Andrew Weil writes about it here).

For a great article about the health benefits of various nuts, including weight loss and reducing stress and heart disease, read this Huffington Post article.

Source imported organic, non-irradiated, and non-fumigated almonds (please see the Natural News article to find out why).
That’s the hardest part!  Then, simply gather up the following

Ingredients:

  • 1 cup raw almonds
  • water for soaking nuts
  • 3-4 cups water for every 1 cup almonds
  • 2 dates or 1-2 Tbs. maple syrup
  • 1/2 tsp vanilla (optional)
  • A pinch of full-spectrum salt
  • A blender
  • A nut milk bag (You can buy the nut milk bag here. I highly recommend this one!)
  • 1 large bowl
To start, soak the almonds in water for 6 hours or so. You can also do this in a hurry by skipping the soaking step, but soaking them results in better milk extraction.  It also releases enzymes from the almonds and makes them more digestible (that's true for soaking all nuts, seeds, and dry beans to initiate the sprouting process).

Simply place the almonds and the water in the blender, then blend into a nice milky liquid. Add water if you prefer a thinner consistency.

Pour this liquid into the nut milk bag, which you should place in a large bowl. Now squeeze the nut milk bag over and over again until all the liquid is squeezed out. This is great exercise for your hands and fingers too, by the way. It’s a lot like milking a cow, actually…

Now you’ve got almond milk!  Refrigerate it and it’s good for a couple of days, but as with all things raw, it’s best to consume it sooner rather than later.

Here’s a Natural News video that shows this process in more detail.  I love that he recommends using the strained nut powder for cookies so that nothing gets wasted.
almond-milk-


Photo Credits and Related Articles

  1. The Unrefined Kitchen (Nice alternative recipe that is a bit sweeter here too!)
  2. Mens Cosmo (For 16 amazing health benefits of almonds, click the link.)
  3. Is Carrageenan Safe? (greenmedinfo.com)


The Breakfast of Champions

giraffe in window mazmuse.com
I’m always on the hunt for nutritious foods that will prepare my family and me for our activity-filled days. It’s also important for the food to supply sustained energy and enhance (or at least not detract from) concentration levels.
My recent food infatuation is kasha, a.k.a. buckwheat. I already wrote about it here, as a surefire way to settle upset stomach. Kasha offers numerous health benefits such as weight loss, preventing high blood pressure, and being a great source of iron, protein, magnesium, phosphorous, and free radical preventing anti-oxidants.
Because it is so soothing and filling to the tummy, it makes a fantastic breakfast food for kids and adults that keeps them satisfied without the typical highs and lows of sugar cereals. In my humble opinion, it wins as the real breakfast of champions!
cardamom-kitchen.com
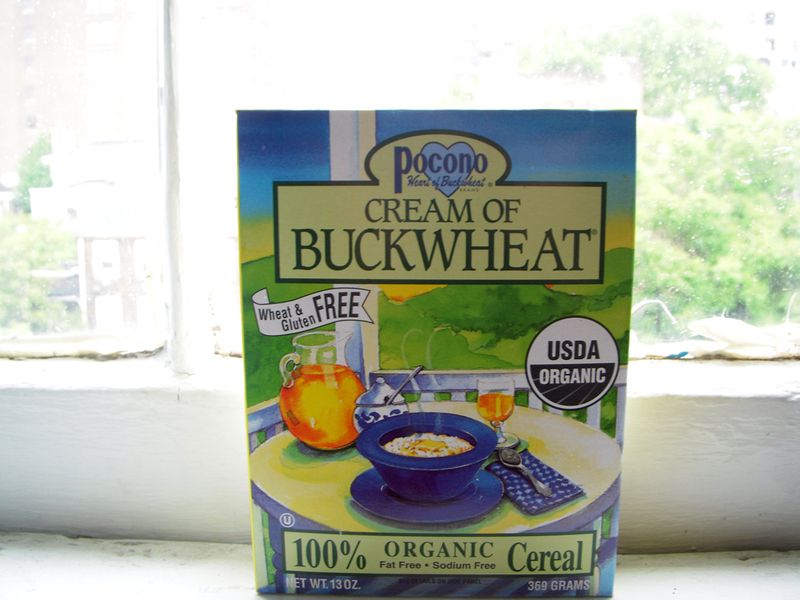
I just made a delicious version of it with cream of buckwheat this morning and thought I’d share it with you.
The cream of buckwheat package says use 1¼ cup milk/water/non-dairy alternative to ¼ cup cream of buckwheat but I prefer a thicker cereal and used ½ cup of cream of buckwheat.

What you need to do:
  • Bring 1¼ cup milk/water/non-dairy alternative (I used unsweetened almond milk) to a boil
  • Add ½ cup cream of buckwheat, bring to boil, then cook while stirring for about 10 minutes.
  • Add a pinch of natural sea salt (I used pink Himalayan salt)
Optional:
  • Add Cinnamon to taste. I used about a teaspoon, but I’m not gonna lie: I really just shook it over the top and kept adding until I enjoyed the flavor. :-)
  • Add one teaspoon organic vanilla extract
  • Add organic maple sugar or other low-glycemic sweetener to taste. (Also poured this over the top until reaching desired sweetness. Then mixed it in.)
  • Add 1-2 tsp. organic, raw coconut oil (this really makes it hunger-curbing hours after eating)
I’ve been looking for ways to add cinnamon to my diet and skin care because of its amazing health benefits. For more information, click this link for the 10 surprising health benefits of cinnamon.
This breakfast feels like comfort food to me. My youngest daughter is LOVING regular kasha for meals. Her tummy thanks her for it too!
Helpful Mama Tip: Are your mornings hectic and rushed? Make this cereal the day before. When it cools, refrigerate it directly in the pot. In the morning, take out the pot and prepared cereal. Reheat, stirring occasionally so it doesn’t stick to the bottom of the pan. Warning: The enticing scent of cinnamon and maple will cause mouths to water. VOILA! A warm way to start the day!
Photo Credits
  1. Courtesy of mazmuse.com
  2. Courtesy of cardamom-kitchen.com
  3. Courtesy of gfggrocery.com